 30-Day Money Back Guarantee

A missed lift should come from the bar, not from leaving your belt in the back seat. This powerlifting gear checklist example is built for lifters who want to walk into training or meet day prepared, focused, and ready to put force into the platform. Pack what earns its place. Leave the clutter behind.
Start With the Lifts, Not the Shopping Cart
Powerlifting is simple on paper: squat, bench press, deadlift. The gear decision is not always simple. What supports one lifter’s setup can feel distracting to another, and federation rules can change what is legal on the platform.
Build your kit around the way you actually lift. If you train with a belt on your top sets, your belt is essential. If wrist wraps help you stay stacked and stable during bench, they belong in your bag. If you have never used knee sleeves under a heavy squat, meet day is not the time to break in a new pair.
Think of gear as part of your ritual. It should improve your setup, protect the areas that take repeated stress, and help you attack the bar with the same confidence every session. It should not turn a three-lift sport into a complicated costume change.
Powerlifting Gear Checklist Example for Training
A hard training day is where your competition setup gets tested. Use this list as the foundation, then adjust based on your programming, comfort, and lifting goals.
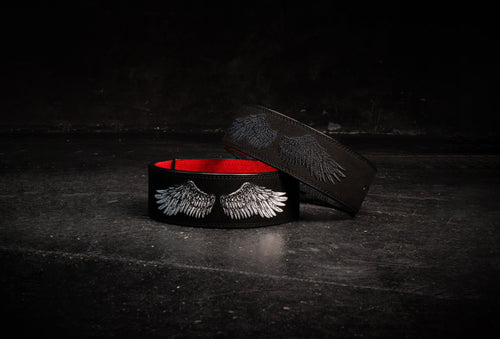
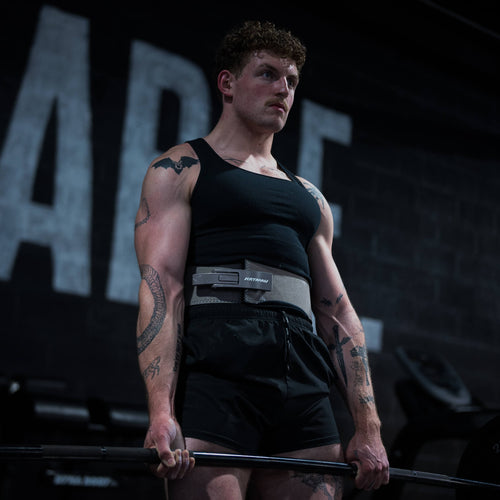
- Lifting belt: A dependable lever belt or prong belt gives your trunk something to brace against on heavy squats and deadlifts. The right fit is tight enough to create pressure, but not so restrictive that you cannot take a full breath and lock in your brace.
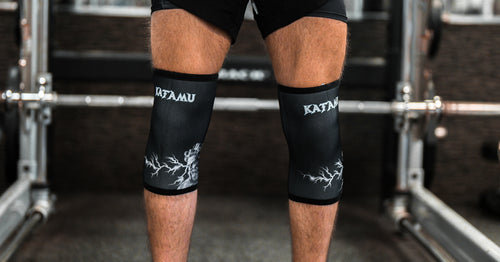
- Knee sleeves: Sleeves provide warmth, compression, and a more secure feeling around the knee during demanding squat volume. They are not a substitute for technique, recovery, or intelligent loading, but they can make heavy work feel more dialed in.
- Wrist wraps: Bench press and front-rack positions can put your wrists in a rough spot. Quality wraps help you create a firmer, more comfortable position when the weights climb.
- Training shoes: Bring the shoes that match the lift. Many lifters prefer heeled shoes for squats, a stable flat shoe for deadlifts, and a firm base for bench. The key is consistency, not copying someone else’s footwear.
- Chalk: Grip changes everything on a heavy deadlift. Keep chalk contained in a bag or container, and check gym rules before using it.
- Lifting straps: Straps are not used in competition deadlifts, but they are valuable for back-off sets, rows, pulldowns, and high-volume pulling when grip fatigue is limiting the target muscles.
- Water and quick fuel: A long session gets harder when you are underhydrated or running on empty. Water, electrolytes, and an easy-to-digest carb source can keep your output from dropping late in training.
- Logbook or training app: You cannot build momentum if every session is a guess. Track loads, reps, RPE, pain signals, and notes on what made a lift move well.
Add What Your Body and Program Demand
Not every item is mandatory. That is the point. Gear should be selected with intention, not collected because it looks good in a locker photo.
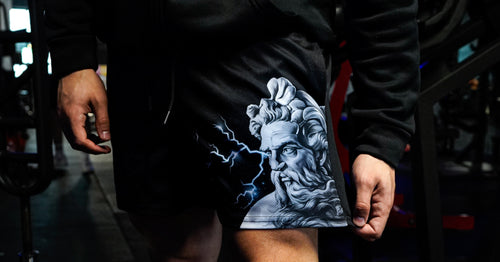
Elbow sleeves can be useful for lifters who respond well to warmth and light compression during pressing volume. A compression shirt can feel more secure under a belt and keep you comfortable through long sessions. Training shorts should give you enough range for a deep squat without bunching, sliding, or making you think about your clothes at the bottom.
A hoodie also earns its place when the gym is cold, your warm-up takes time, or you need to stay warm between attempts. The trade-off is simple: too much bulk can interfere with your belt setup, especially during squats. Wear what keeps you ready, then strip down to what lets you move cleanly.
For accessories, keep a small recovery layer in the bag. Athletic tape, bandages, and a spare pair of socks can save a session when something minor goes wrong. Just do not confuse pain management tools with a green light to push through an injury that needs real attention.
Meet-Day Checklist: Pack for Zero Surprises
A meet bag needs more discipline than a normal gym bag. You may be there for hours. You will have less control over timing, space, temperature, and nerves. Pack the night before, then check it again before leaving.
First, confirm the rulebook for your federation and division. Sleeve thickness, belt dimensions, wrap length, logo requirements, clothing rules, and approved equipment can vary. Gear that works in a commercial gym may not be permitted on the platform. When in doubt, bring compliant backup options and ask during equipment check.
Your meet-day bag should include the following:
- Your approved belt, knee sleeves, wrist wraps, singlet, T-shirt, long socks for deadlift, and lifting shoes
- Chalk if the meet allows personal chalk, plus a towel to keep hands and gear clean
- A backup shirt, underwear, socks, laces, and any duplicate gear you cannot afford to lose or damage
- Water, electrolytes, familiar snacks, fast carbs, and a meal that sits well in your stomach
- Identification, membership card or registration details if required, cash or card, phone charger, and headphones
- Your attempt plan, warm-up numbers, opener weights, and a pen for last-minute notes
The Three-Lift Setup
Your gear should support the demands of each lift without slowing down your process.
Squat
For squat, the main pieces are usually your belt, knee sleeves, shoes, and apparel that moves freely. Set your belt position before warm-ups start. Some lifters wear it higher, others lower, depending on torso length, stance, and how they brace. There is no universal placement that wins every squat. The best position is the one that lets you stay tight, hit depth, and drive up without losing posture.
Bench Press
Bench gear is about a stable upper body. Wrist wraps can help you keep the wrist aligned over the forearm, while a fitted shirt gives you less fabric to fight during your setup. Bring your own resistance band if you use one for shoulder warm-ups. Keep that warm-up simple and repeatable. You want your shoulders switched on, not fatigued before your opener.
Deadlift
Deadlift demands grip, positioning, and patience. Your belt, flat shoes or deadlift slippers, long socks, and chalk are the core pieces. Knee-high socks are not just a style choice in many meets. They protect the shins and are often required. Keep a towel nearby for chalk and sweat, especially if you pull conventional and need a clean bar path.
Buy Fewer Pieces, Buy Better Pieces
Cheap gear usually reveals itself under pressure. Velcro that slips, sleeves that lose shape, straps that fray, and belts that feel unreliable all create friction when your focus should be on the lift. A premium kit does not promise a personal record, but it gives you a more consistent foundation to pursue one.
Start with the essentials you will use weekly: a belt, sleeves or wraps based on your needs, durable training apparel, and a bag that keeps it together. Build from there. Katamu strength gear is designed for lifters who want their support equipment and training uniform to carry the same standard - hard-wearing, performance-focused, and sharp enough to match the work.
The strongest checklist is not the longest one. It is the one that reflects your training, survives your routine, and is packed before the pressure hits. Set it by the door, step onto the platform, and let the bar find out what you built.
